
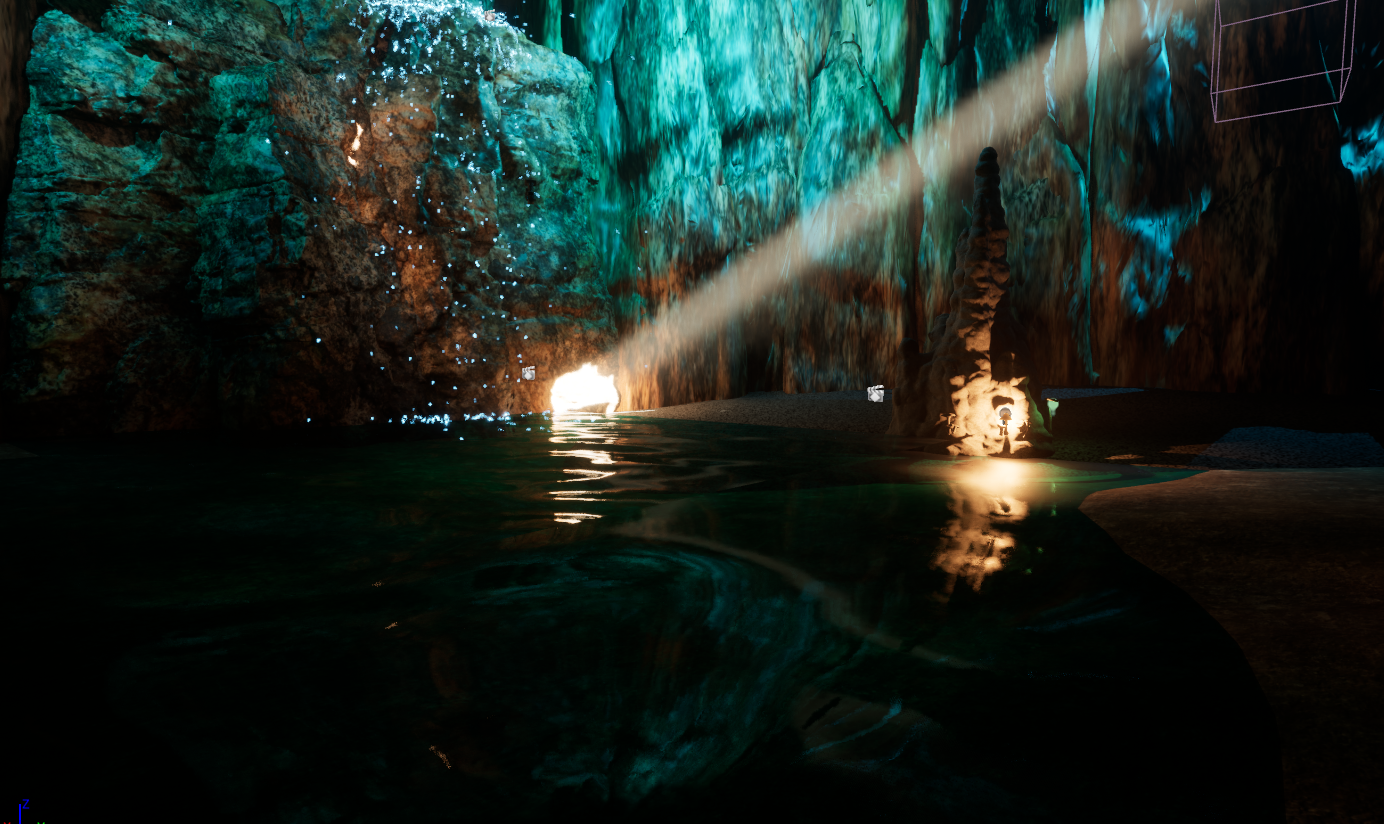
I made it look like a waterfall by spawning particles continuously from a small area at the top, so it becomes a steady stream instead of separate bursts. I used a sphere for the spawn location to keep the particles clustered like water coming from a crack, and I added velocity in a cone pointing downward so they all fall in the same direction. Gravity then speeds them up as they fall, and collision makes them react when they hit the ground, which helps sell the idea of water splashing and building up at the bottom..
What this is
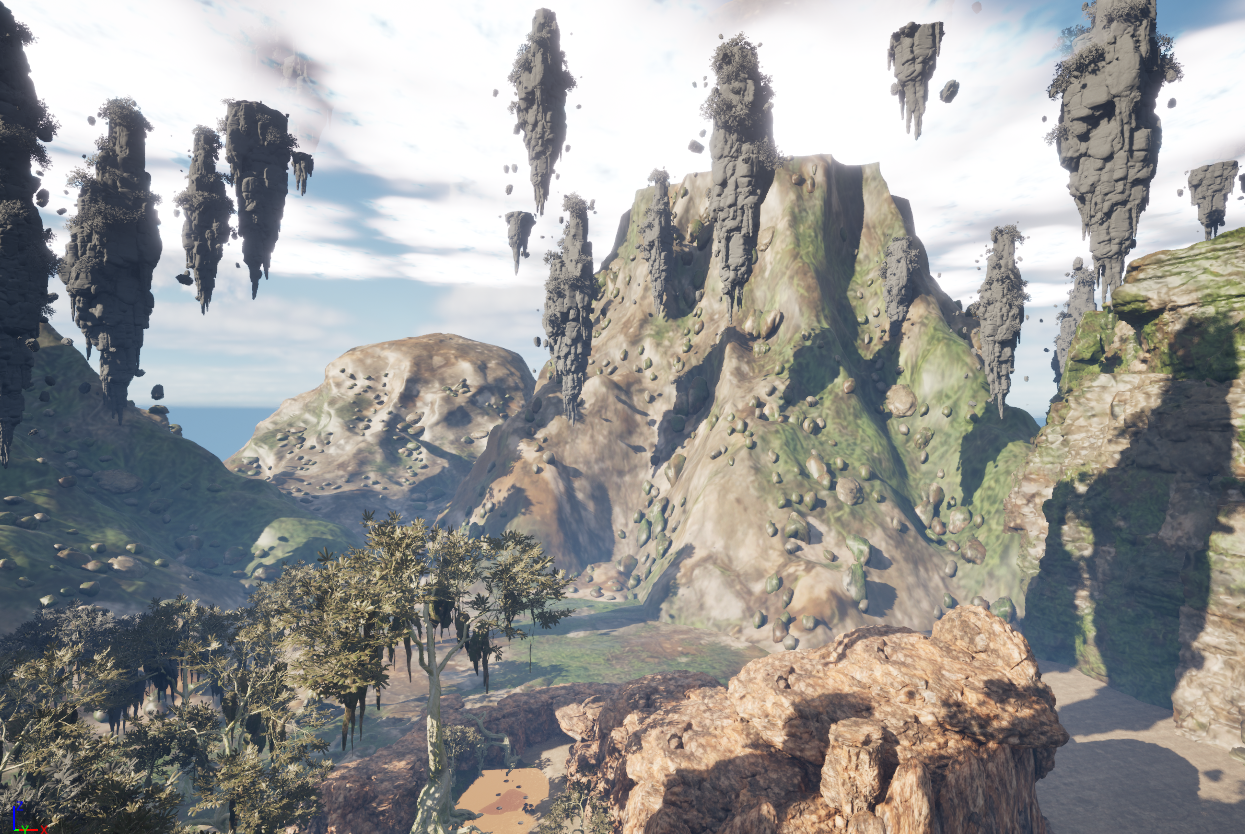
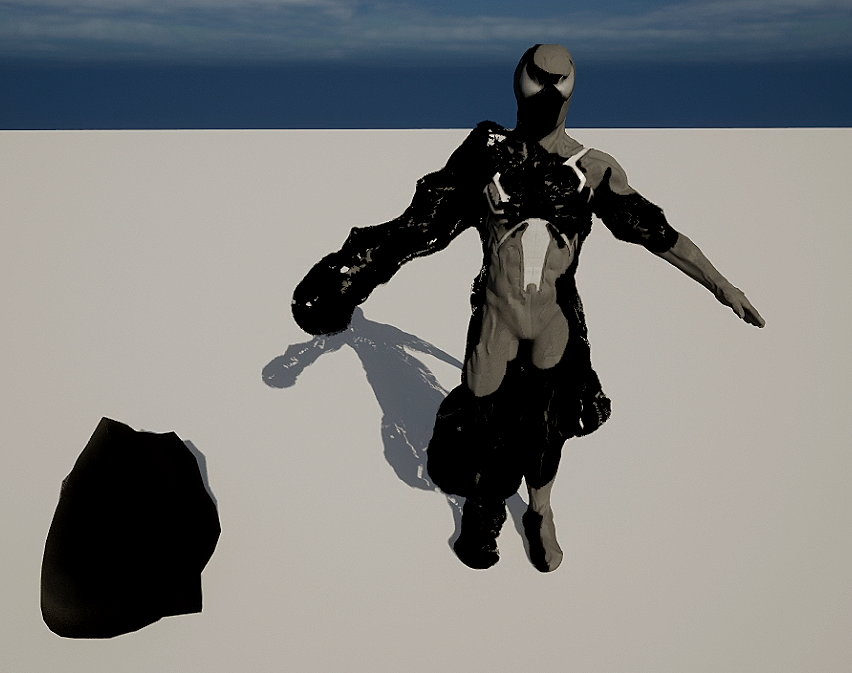
This material uses a combination of local position data, animated noise, and vertex normals to create an organic surface deformation effect. The mesh’s Local Position is first offset using a Panner node, which introduces continuous movement over time. This animated offset is combined using an Append and Add operation, feeding dynamic coordinates into a Voronoi Noise node to generate a flowing procedural pattern.
The noise output is shaped using a Power node, allowing control over contrast and intensity, making the deformation sharper or softer depending on the desired visual result. This processed signal is then scaled and multiplied with the mesh’s Vertex Normal (World Space), ensuring that displacement occurs naturally along the surface direction rather than in arbitrary world axes.
A configurable Strength parameter controls the overall displacement amount, allowing real-time tuning inside the engine. The final result is applied to the World Position Offset, producing a pulsing, animated surface that feels alive and reactive while remaining lightweight and fully procedural.
This approach avoids texture dependency, supports scalable performance, and demonstrates how node-based shaders can drive dynamic motion using mathematical relationships rather than baked assets.

Main shader programming project
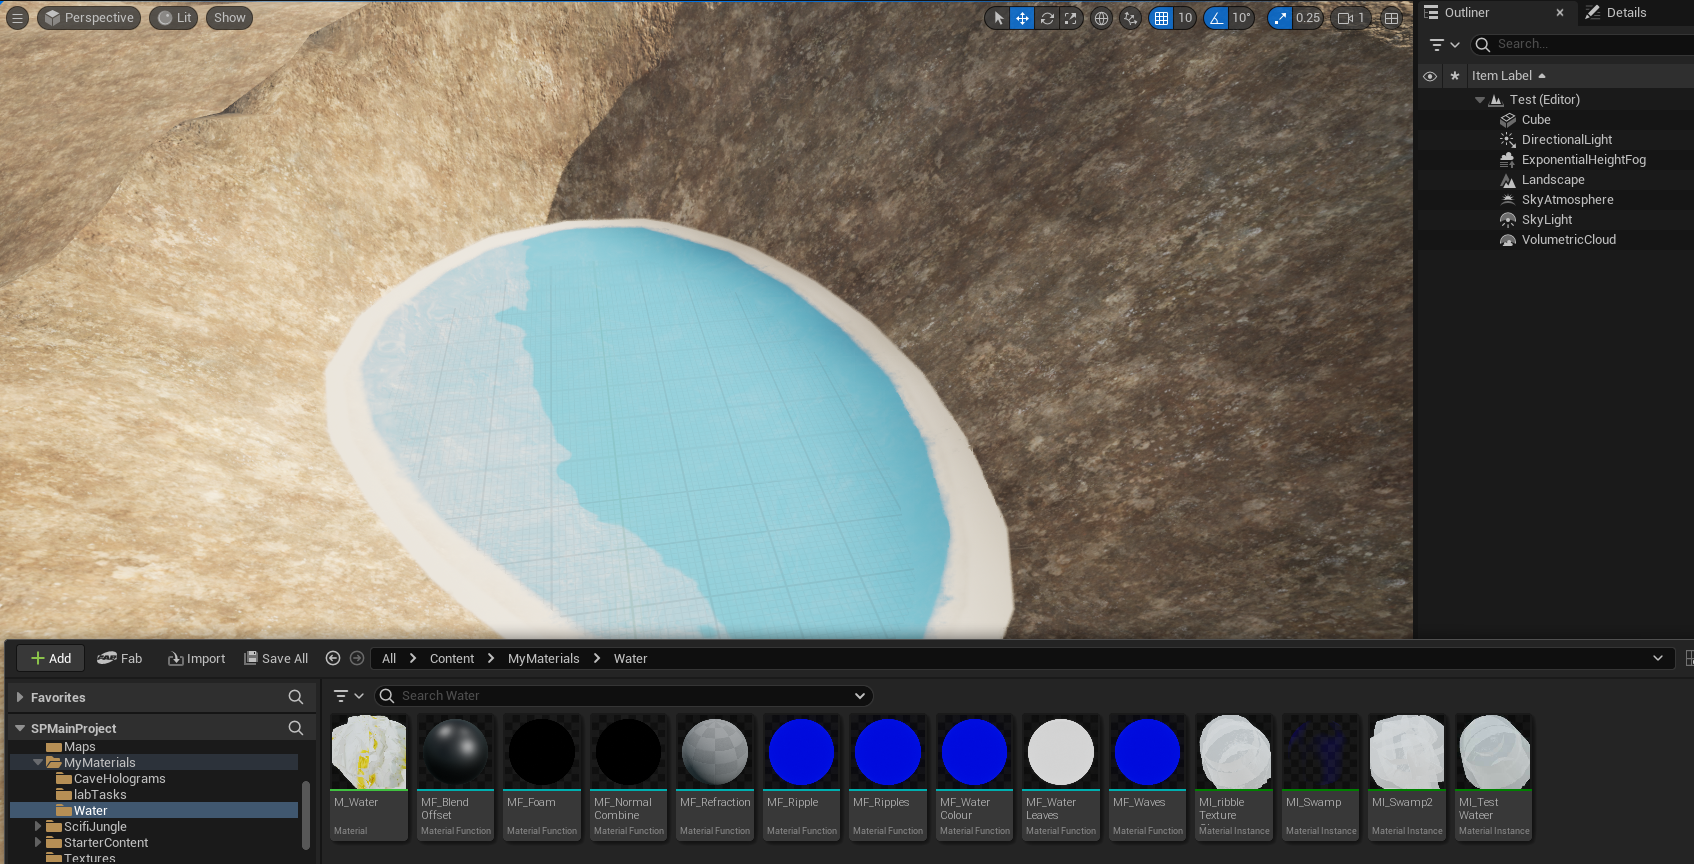
I made the water look like it’s moving by panning two normal maps at different speeds, which creates overlapping ripples so the surface doesn’t feel flat or repetitive. I then blend those normals together to get more detailed wave movement and plug that into the Normal input, which makes the light react like it’s hitting real water. The base colour and opacity are kept fairly low and slightly tinted so the surface looks shallow and translucent, while the roughness and specular values are tuned to give it a wet, reflective shine. All of that together helps sell it as a flowing water surface instead of just a static plane.
Here you will find a collection of projects and shaders that explore both visual creativity and technical execution, revealing how each effect is built from the ground up. Alongside the finished results, I share insights into the construction process, node structures, shader logic, experimentation, and optimisation choices, offering a transparent look into how real-time visuals are crafted for interactive experiences.
Video showcasing this shader project as a whole
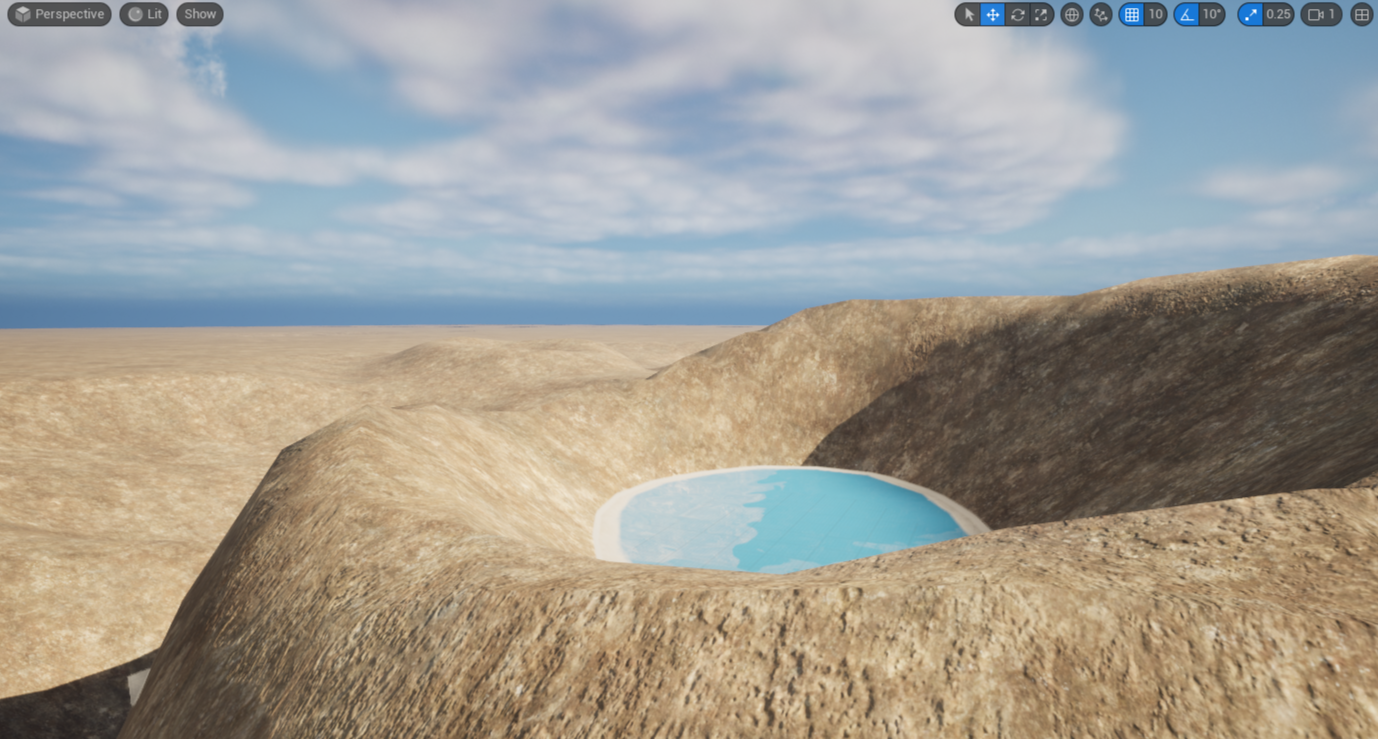
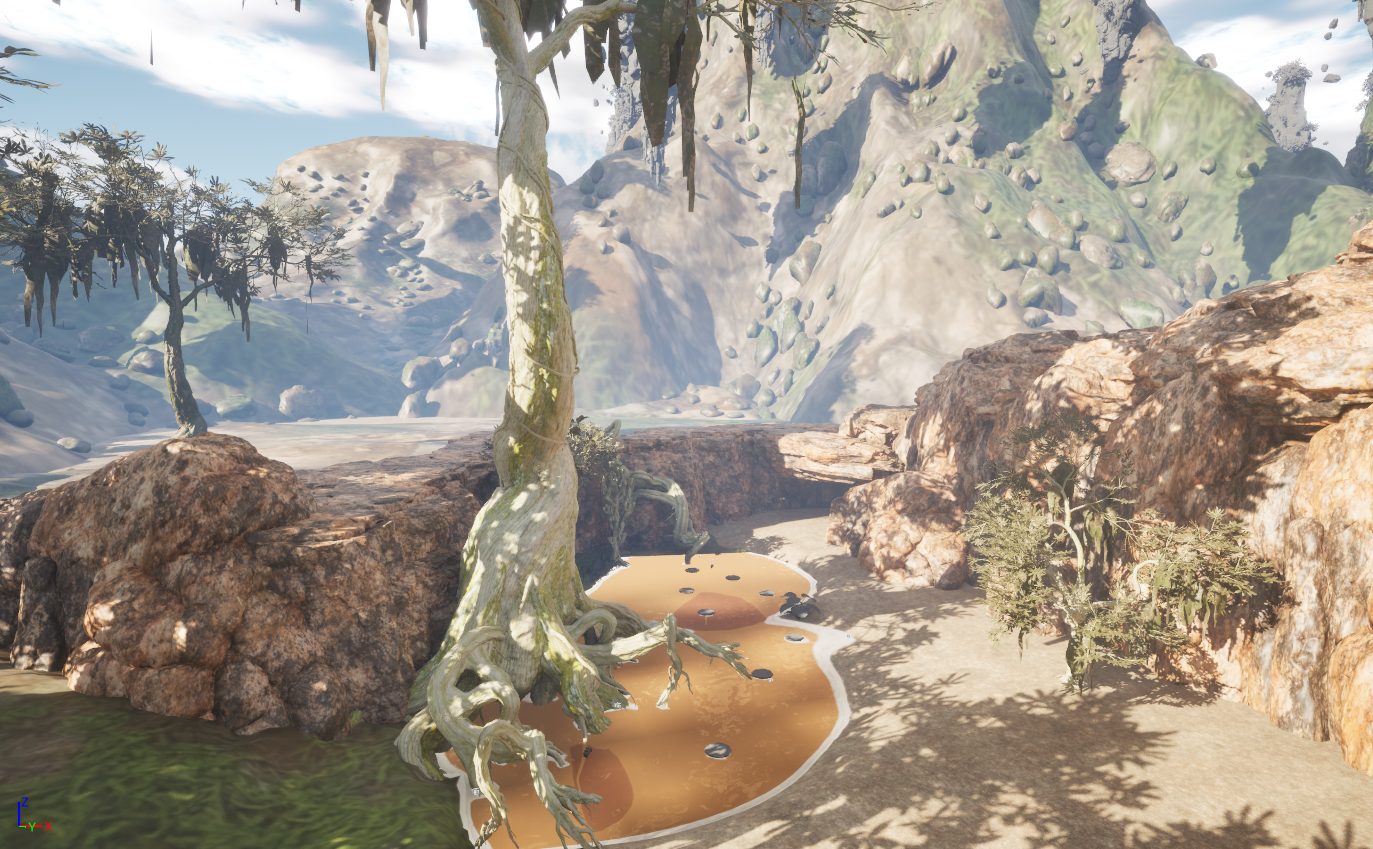
This water was created by using material functions which i could then use in the main material to blend material attributes to each element of the water. below you can see the water test that i initially did which I then encorporated into the main project.
Currently working on….
I’m working on a light saber shader prototype that brings every element to life. With dynamic glow, subtle flicker, and energy trails, my goal is to capture the cinematic thrill of a glowing blade.
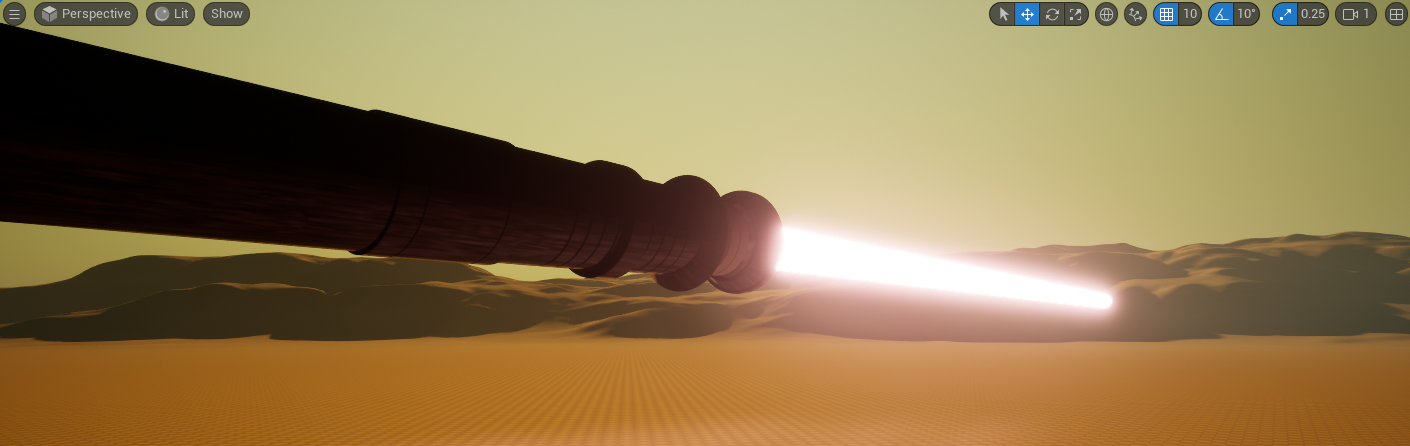
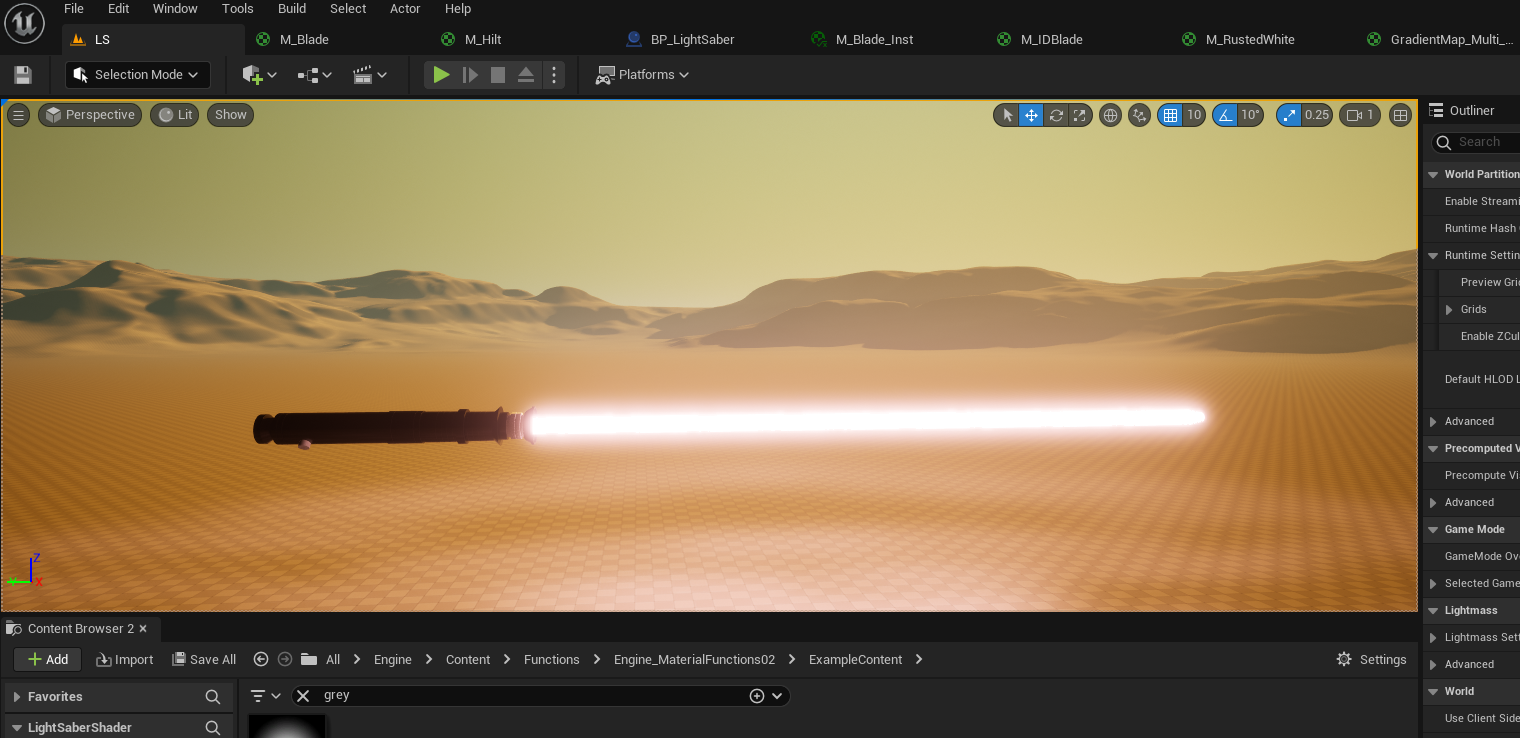
This lightsaber blade shader is built entirely in the material using a procedural gradient and animated noise, with the material set to Unlit and Additive so all visual energy comes from Emissive Colour. The top chain starts with the Texture Coordinate, masking the R channel (in RGB) to isolate the blade’s width, subtracting 0.5 to center it, taking the absolute value to measure distance from the middle, multiplying by a high value to control thickness, then using OneMinus and Clamp to create a sharp white core that fades toward the edges (I’m currently working on how I can make this effect a bit more accurate as I am not happy with how its looking with the center glow a bit strong reducing the colour) this result is multiplied again to boost brightness. A second, softer version of that same gradient is multiplied by a BladeColor parameter to create the glow surrounding the core, and both are added together. To make the blade feel alive rather than static, a noise texture is panned vertically and multiplied by a small value (the noise texture i used is in the Unreal started pack), then added to the emissive output to introduce subtle moving brightness variation inside the blade. My next steps are to add a different effects to the blade as I want it to look more unstable and potentially add a particle effect for some sparks or unstable energy
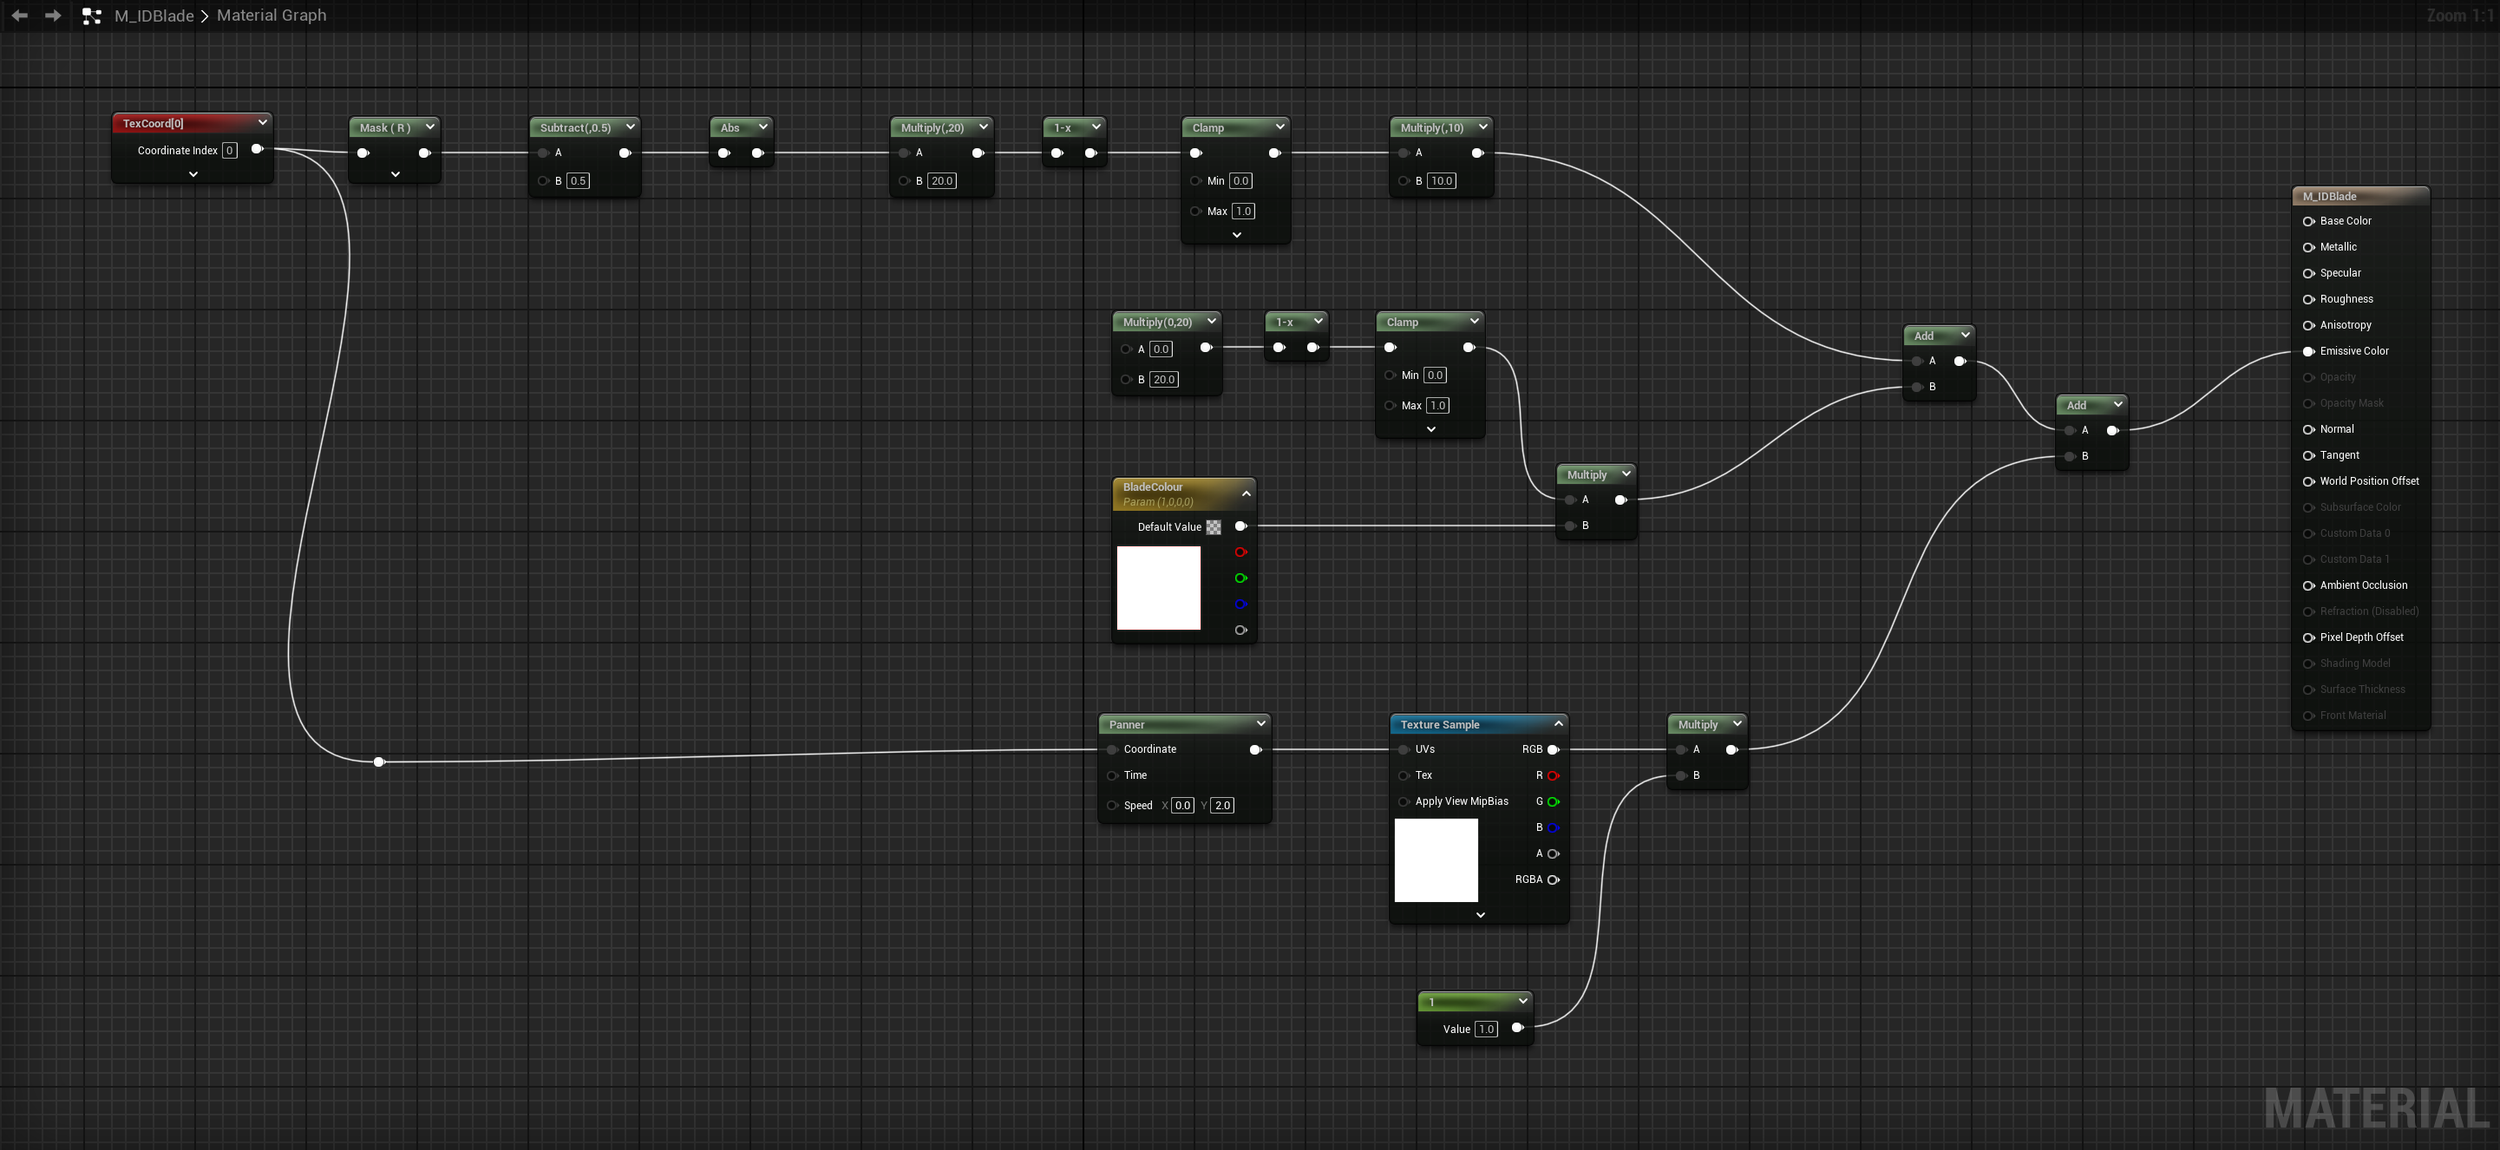
click on the shader graph to view it fully